Hebei Tangzhi Technology Co., Ltd.


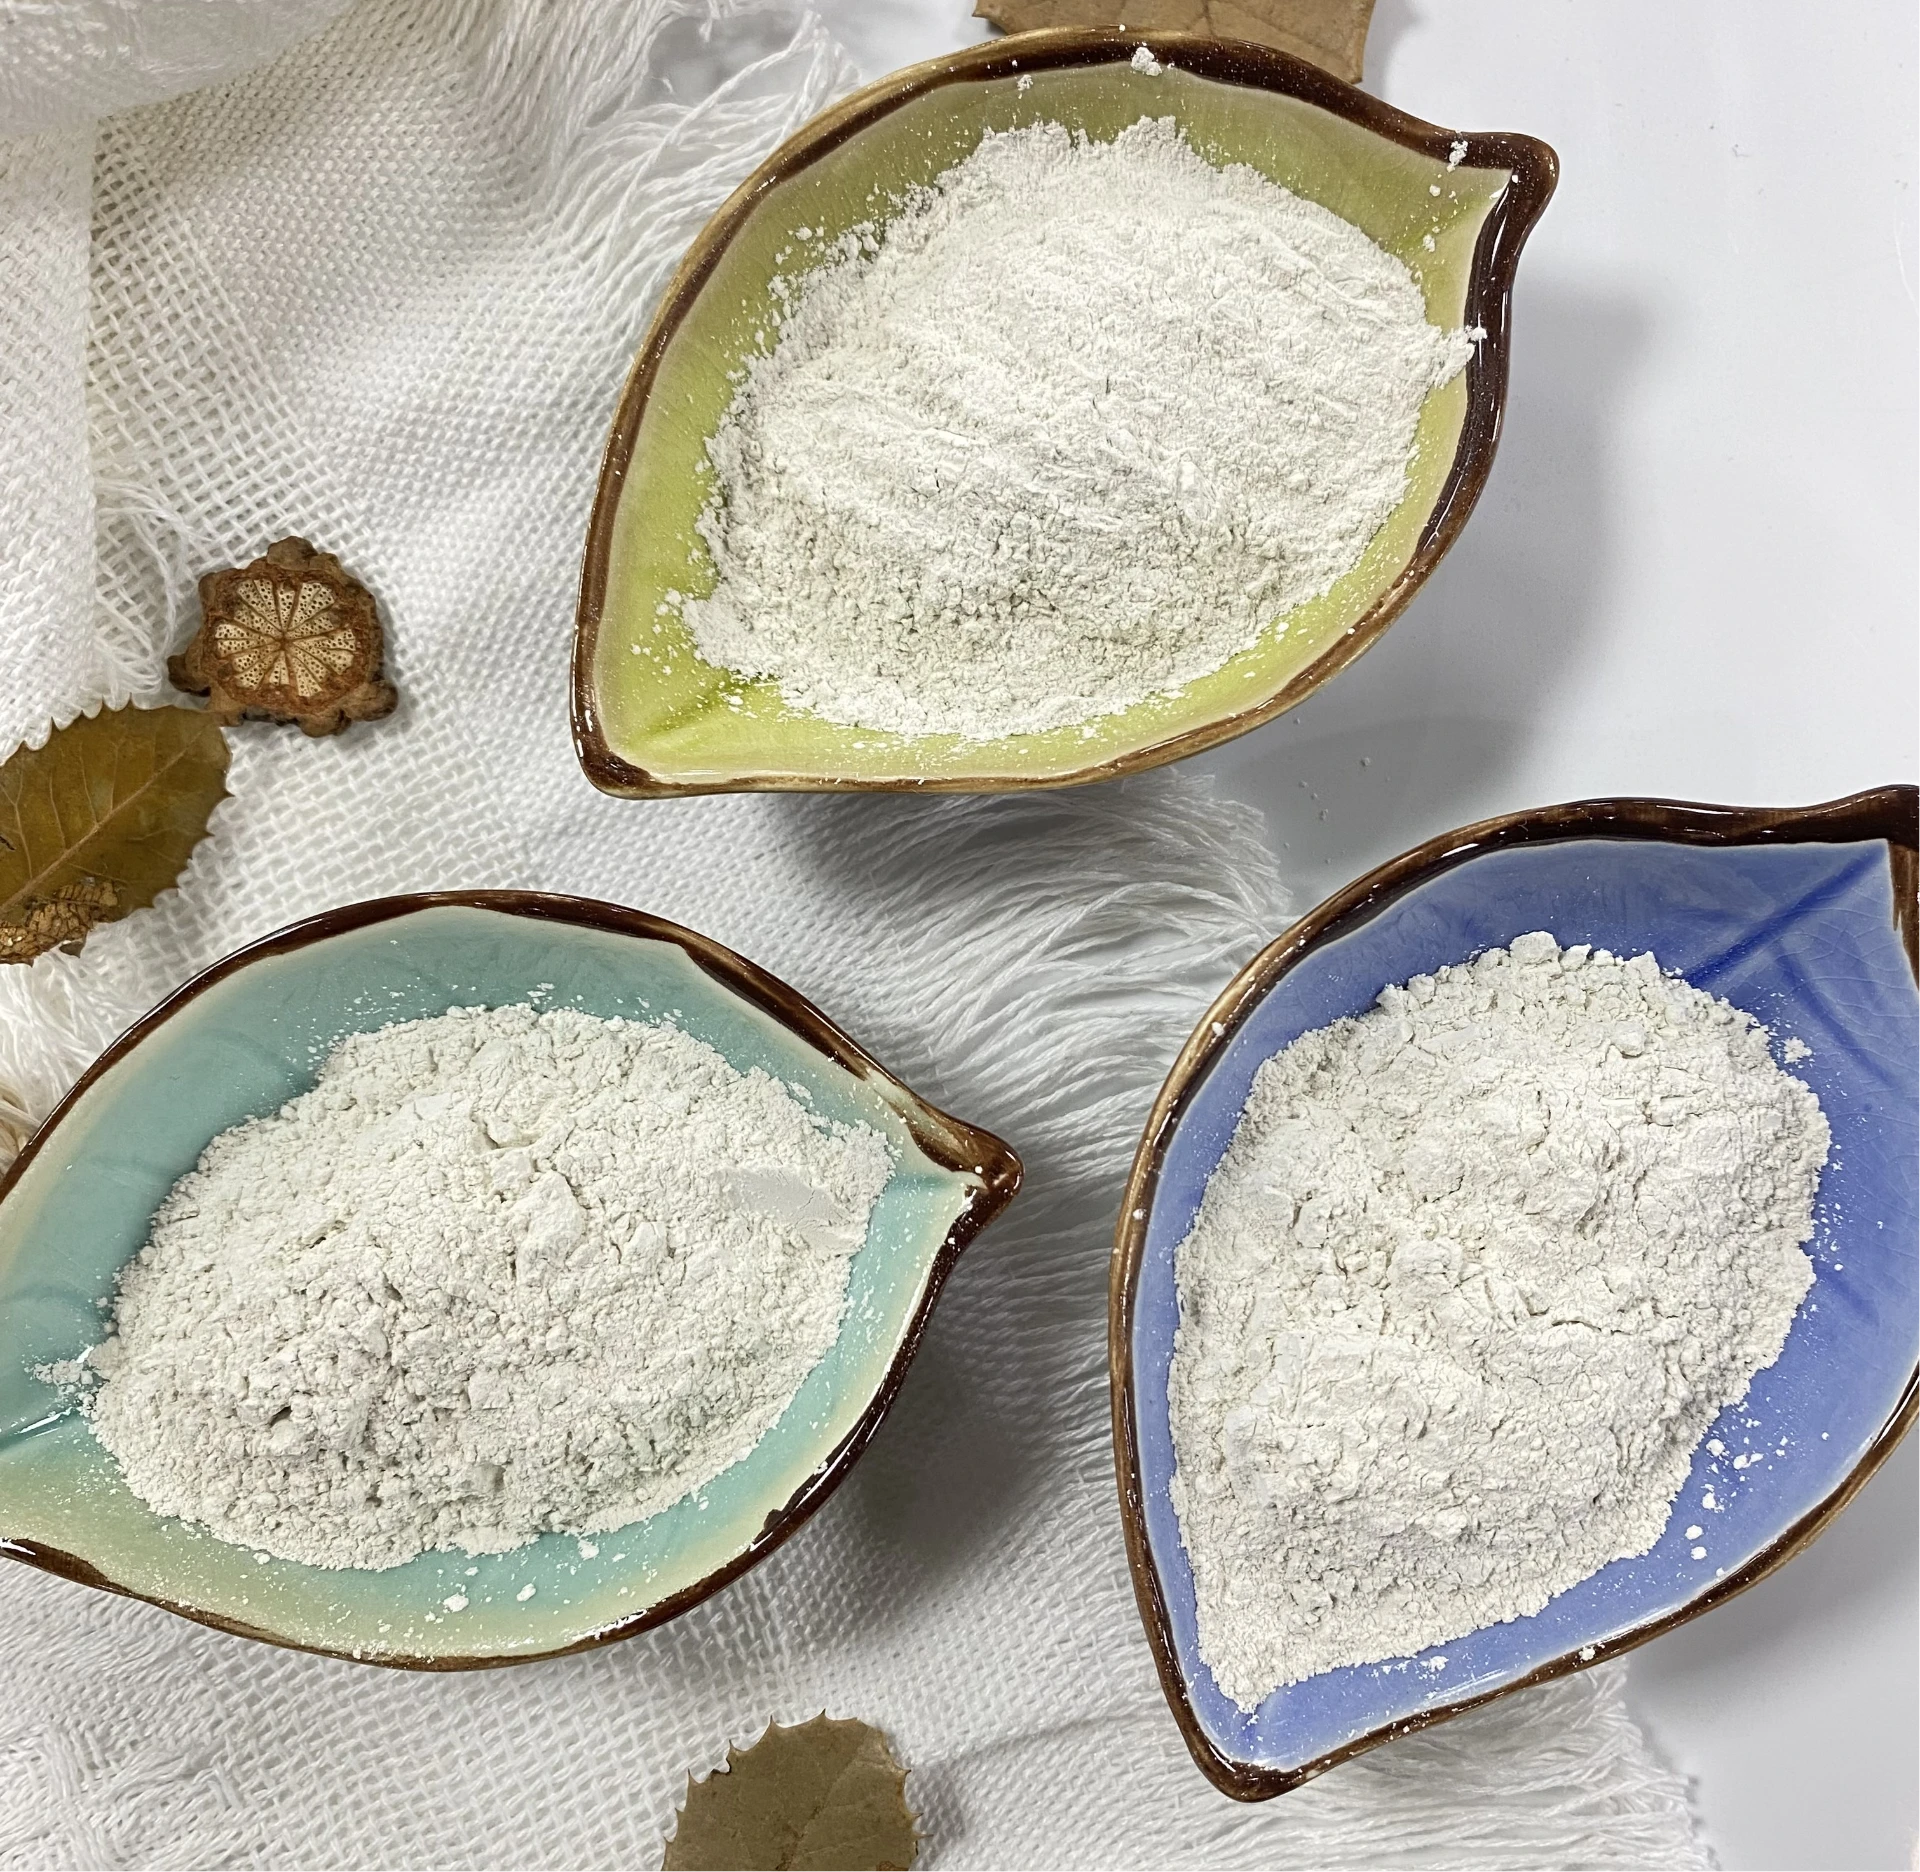
Polyviny Alcohol (PVA)
Feb . 19, 2025 09:25
Back to list
Polyviny Alcohol (PVA)
For many homeowners and professional decorators, ensuring that walls are in perfect condition before painting is a critical step that can significantly influence the final result. The preparation process often involves using Polyvinyl Acetate (PVA) to prime walls. This not only ensures a smooth surface but also enhances the paint's adhesion, prolonging the quality and durability of the finish.
Choosing the right paint is equally important after the PVA priming stage. Water-based latex paints are excellent choices for the majority of interior surfaces primed with PVA. These paints adhere well to the PVA-sealed surface and offer ease of application. In addition, they are more eco-friendly and have lower levels of volatile organic compounds (VOCs), making them a healthier option for indoor air quality. For professional painters and DIY enthusiasts, the knowledge and expertise required to effectively use PVA in wall preparation can heavily impact the quality of the paint job. Furthermore, maintaining tools, such as brushes and rollers, during the process will lead to a more professional finish. Clean these tools thoroughly after use to prevent hardening and ensure a smooth application in future painting tasks. Beyond the physical aspects of preparation, understanding the chemistry behind why PVA is effective can bolster one's expertise in home improvement. PVA creates a binding layer that enhances adhesion due to its molecular properties, which are designed to interact beneficially with both the wall's substrate and the later layers of paint. This interaction is key in helping the paint stick more permanently, resisting typical issues like peeling or flaking. Investing time in proper wall preparation with PVA can save time and resources in the long run. By taking these meticulous steps before painting, not only is the aesthetic appeal of the finished product enhanced, but longevity is also increased, offering long-term savings on repainting and repairs. For homeowners looking to refresh their space or professional decorators aiming to deliver high-quality results, understanding and utilizing PVA effectively is a critical skill that underpins successful painting projects.
Choosing the right paint is equally important after the PVA priming stage. Water-based latex paints are excellent choices for the majority of interior surfaces primed with PVA. These paints adhere well to the PVA-sealed surface and offer ease of application. In addition, they are more eco-friendly and have lower levels of volatile organic compounds (VOCs), making them a healthier option for indoor air quality. For professional painters and DIY enthusiasts, the knowledge and expertise required to effectively use PVA in wall preparation can heavily impact the quality of the paint job. Furthermore, maintaining tools, such as brushes and rollers, during the process will lead to a more professional finish. Clean these tools thoroughly after use to prevent hardening and ensure a smooth application in future painting tasks. Beyond the physical aspects of preparation, understanding the chemistry behind why PVA is effective can bolster one's expertise in home improvement. PVA creates a binding layer that enhances adhesion due to its molecular properties, which are designed to interact beneficially with both the wall's substrate and the later layers of paint. This interaction is key in helping the paint stick more permanently, resisting typical issues like peeling or flaking. Investing time in proper wall preparation with PVA can save time and resources in the long run. By taking these meticulous steps before painting, not only is the aesthetic appeal of the finished product enhanced, but longevity is also increased, offering long-term savings on repainting and repairs. For homeowners looking to refresh their space or professional decorators aiming to deliver high-quality results, understanding and utilizing PVA effectively is a critical skill that underpins successful painting projects.
Prev:
Next:
Latest news
-
Advanced Antifoam & Defoamer Solutions for Foam ControlNewsAug.10,2025
-
High-Purity Microcrystalline Cellulose for Pharma & FoodNewsAug.09,2025
-
Premium MHEC Cellulose: Versatile Binders & ThickenersNewsAug.08,2025
-
Methyl Cellulose: Premium Thickener & Binder for Versatile UseNewsAug.07,2025
-
Premium Ethyl Cellulose | Binder for Pharma & CoatingsNewsAug.06,2025
-
Low Substitution HPC - AI-Optimized Hydroxypropyl CelluloseNewsAug.05,2025
")


")
")
")
")
")
")
")
")
")
")